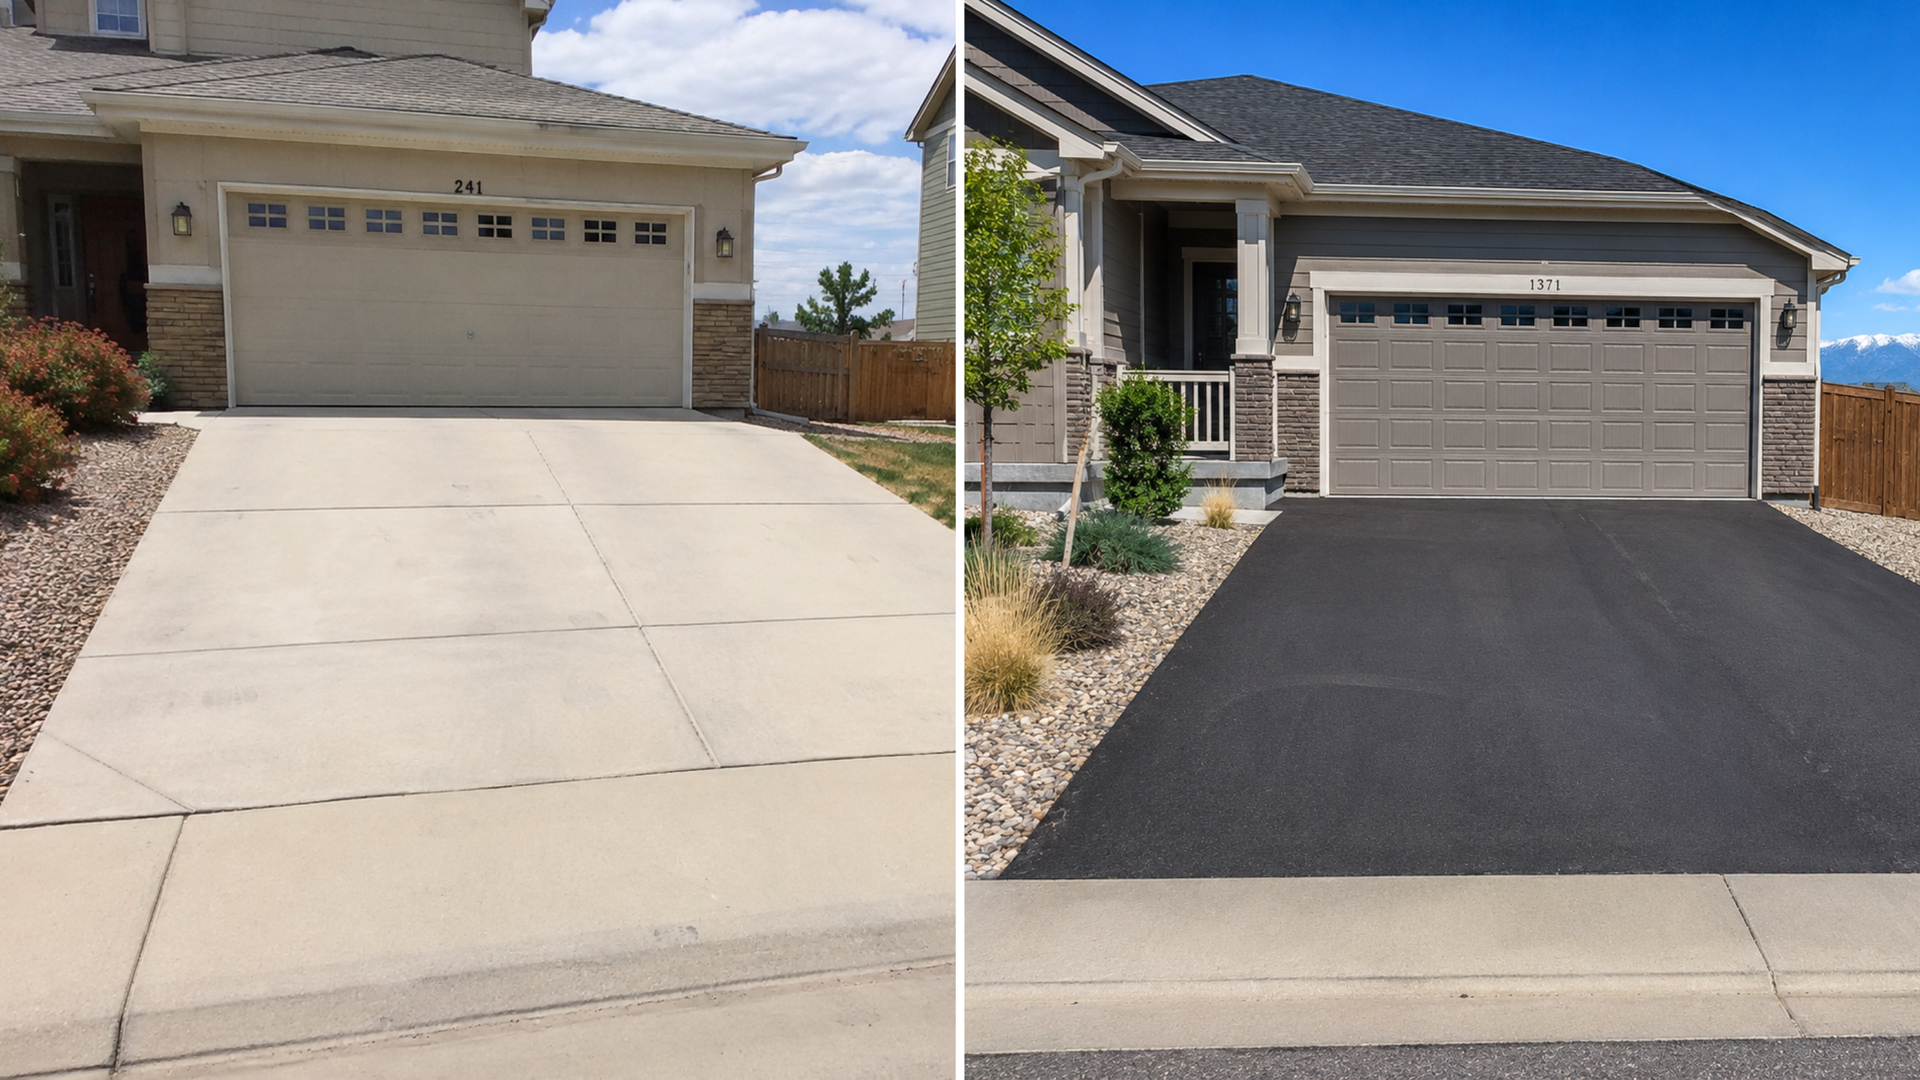
Concrete Driveway Installation Process in Brighton CO: Step-by-Step Guide (2026)
Installing a concrete driveway is a major home improvement project, and the quality of the installation has a direct impact on how long the driveway lasts and how well it performs. While concrete itself is a durable material, the success of a driveway depends on the steps taken long before the concrete is poured.
For homeowners planning a new driveway or replacing an older one, understanding the installation process helps set realistic expectations, makes it easier to compare contractor estimates, and reduces the risk of problems down the road. This guide explains the full concrete driveway installation process for homes in Brighton, breaking down each stage and why it matters.
Why the Installation Process Matters More Than Most Homeowners Realize
Concrete driveways rarely fail because concrete is “weak.” Most failures happen because critical steps were skipped, rushed, or done incorrectly. Poor base preparation, thin slabs, improper drainage, or rushed curing can all lead to cracking, settling, and surface damage, sometimes within just a few years.
Homeowners often encounter these issues when they start researching repairs or replacements earlier than expected. In many cases, the root cause traces back to installation choices, not age. A properly installed driveway distributes weight evenly, manages water effectively, and stands up to Brighton’s freeze–thaw cycles far better over time.
Step 1: Site Evaluation and Project Planning
Every successful driveway installation begins with a thorough site evaluation. This step allows contractors to assess conditions that influence both performance and cost.
During the evaluation, contractors typically look at:
- Driveway size and layout
- Slope and water runoff patterns
- Soil stability and compaction needs
- Access for equipment and materials
- Whether existing concrete needs removal
This information determines slab thickness, reinforcement requirements, base depth, and grading adjustments. It also helps avoid unexpected changes once the project is underway.
A detailed evaluation is one reason pricing can vary between estimates. Homeowners comparing Concrete Driveway Cost Brighton often find that lower quotes reflect less planning or skipped steps rather than actual savings.
Step 2: Excavation and Removal
Excavation creates the foundation for the new driveway. Old concrete, asphalt, gravel, or soil is removed to the proper depth so the new slab sits correctly and drains properly.
This step is critical because it:
- Establishes the correct driveway elevation
- Allows room for a stable base
- Prevents water from pooling near the home
Rushed or shallow excavation can lead to uneven slabs, drainage issues, and premature cracking. For replacement projects, proper removal ensures the new driveway isn’t built over unstable material.
Step 3: Base Preparation and Compaction
Base preparation is one of the most important steps in the installation process. A compacted gravel base supports the concrete slab and helps manage soil movement caused by temperature changes.
A properly prepared base:
- Distributes weight evenly across the slab
- Reduces the risk of settling
- Helps prevent cracking
- Improves long-term stability
In climates with freeze–thaw cycles, base preparation plays a major role in how well a driveway holds up over time. Many driveways that require early repair or replacement fail because the base was insufficient.
Step 4: Grading and Drainage Setup
Before concrete is poured, the driveway must be graded correctly so water flows away from the home and off the surface. Poor drainage is a common cause of driveway deterioration.
Proper grading helps prevent:
- Standing water
- Ice buildup during winter
- Erosion under the slab
- Long-term structural damage
If drainage problems exist, contractors may adjust slopes or recommend additional solutions to manage runoff. Addressing drainage early protects the driveway throughout its lifespan.
Step 5: Forming the Driveway
Forms define the shape, edges, and thickness of the driveway. Contractors use wood or metal forms to outline the layout exactly as planned.
Accurate forming ensures:
- Consistent slab thickness
- Clean, straight edges
- Proper slope and alignment
Well-set forms contribute to both the structural integrity and visual appeal of the finished driveway.
Step 6: Reinforcement Installation
Reinforcement strengthens concrete and helps control cracking caused by movement and temperature changes. While concrete performs well under compression, reinforcement improves its ability to handle tension.
Common reinforcement options include:
- Steel rebar
- Wire mesh
- Fiber reinforcement
The right choice depends on driveway size, vehicle weight, soil conditions, and expected use. Reinforcement does not prevent all cracking, but it helps keep cracks smaller and less disruptive.
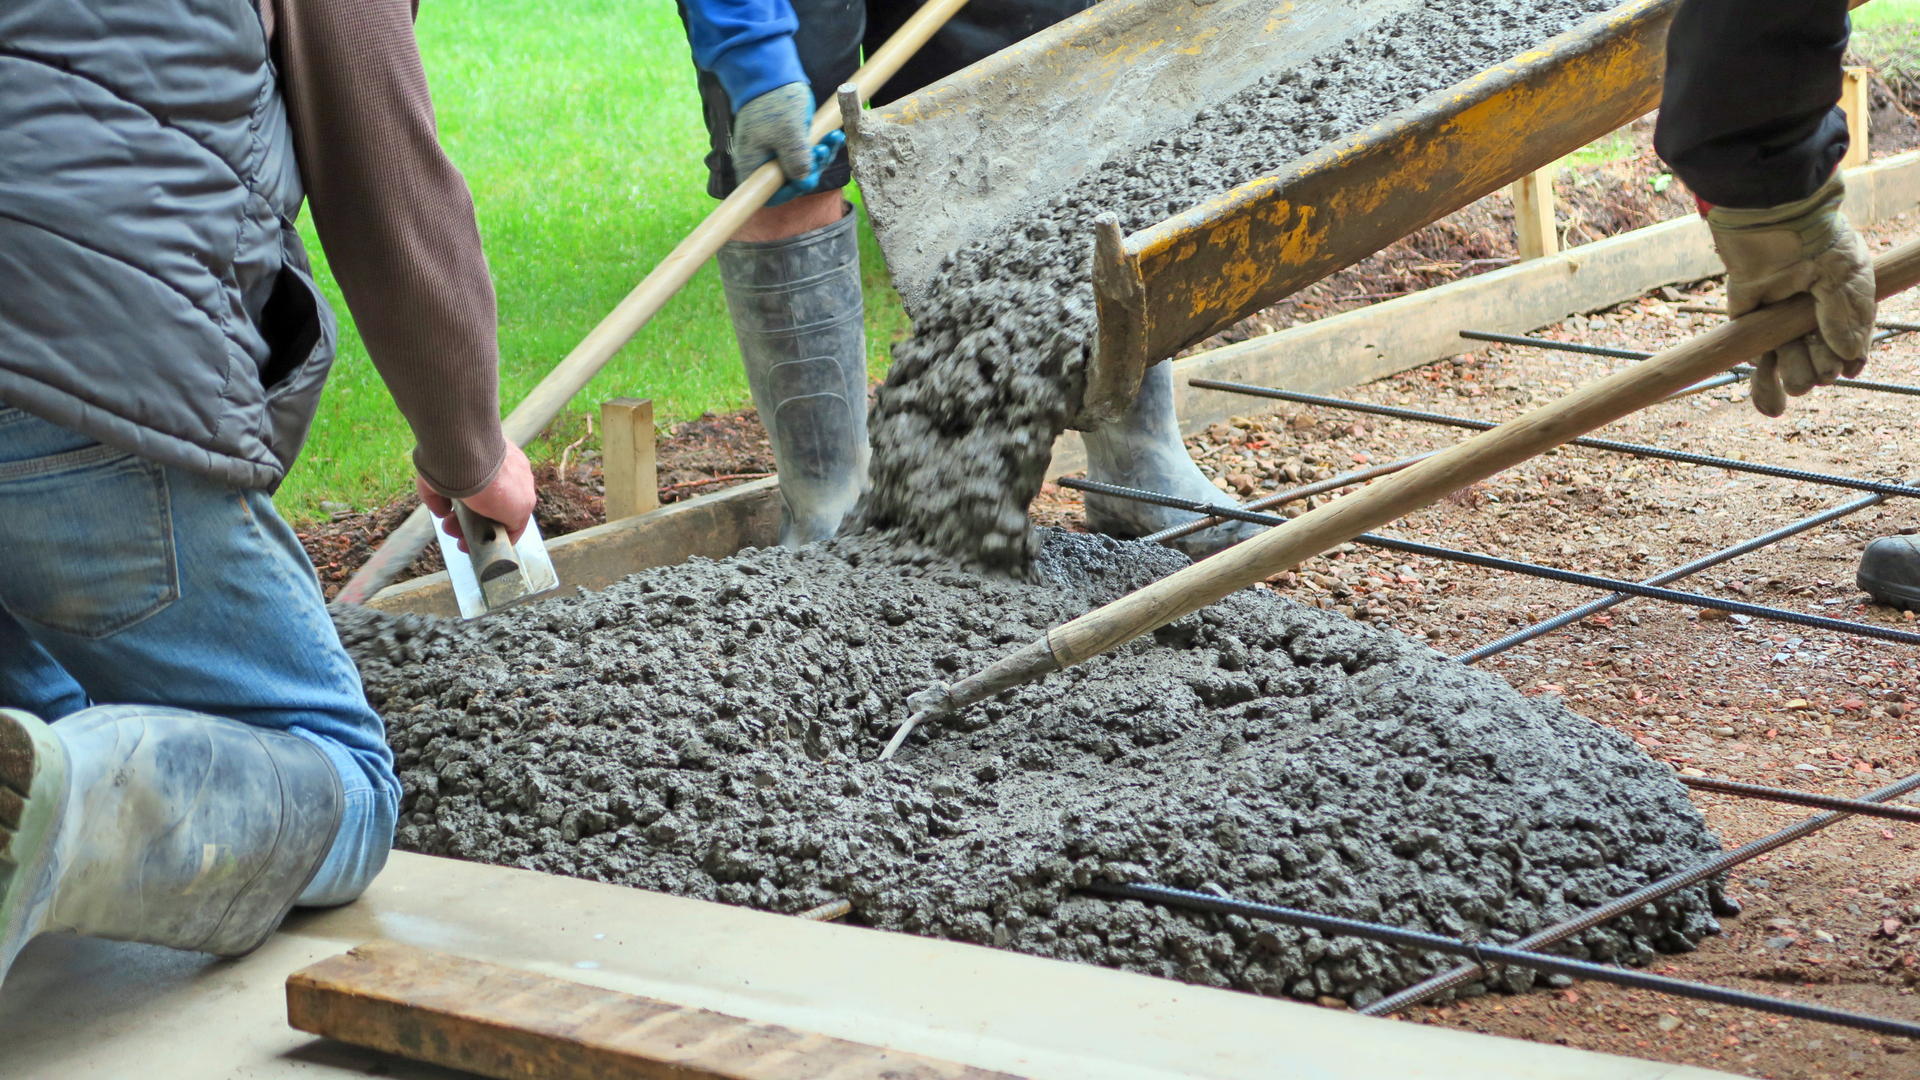
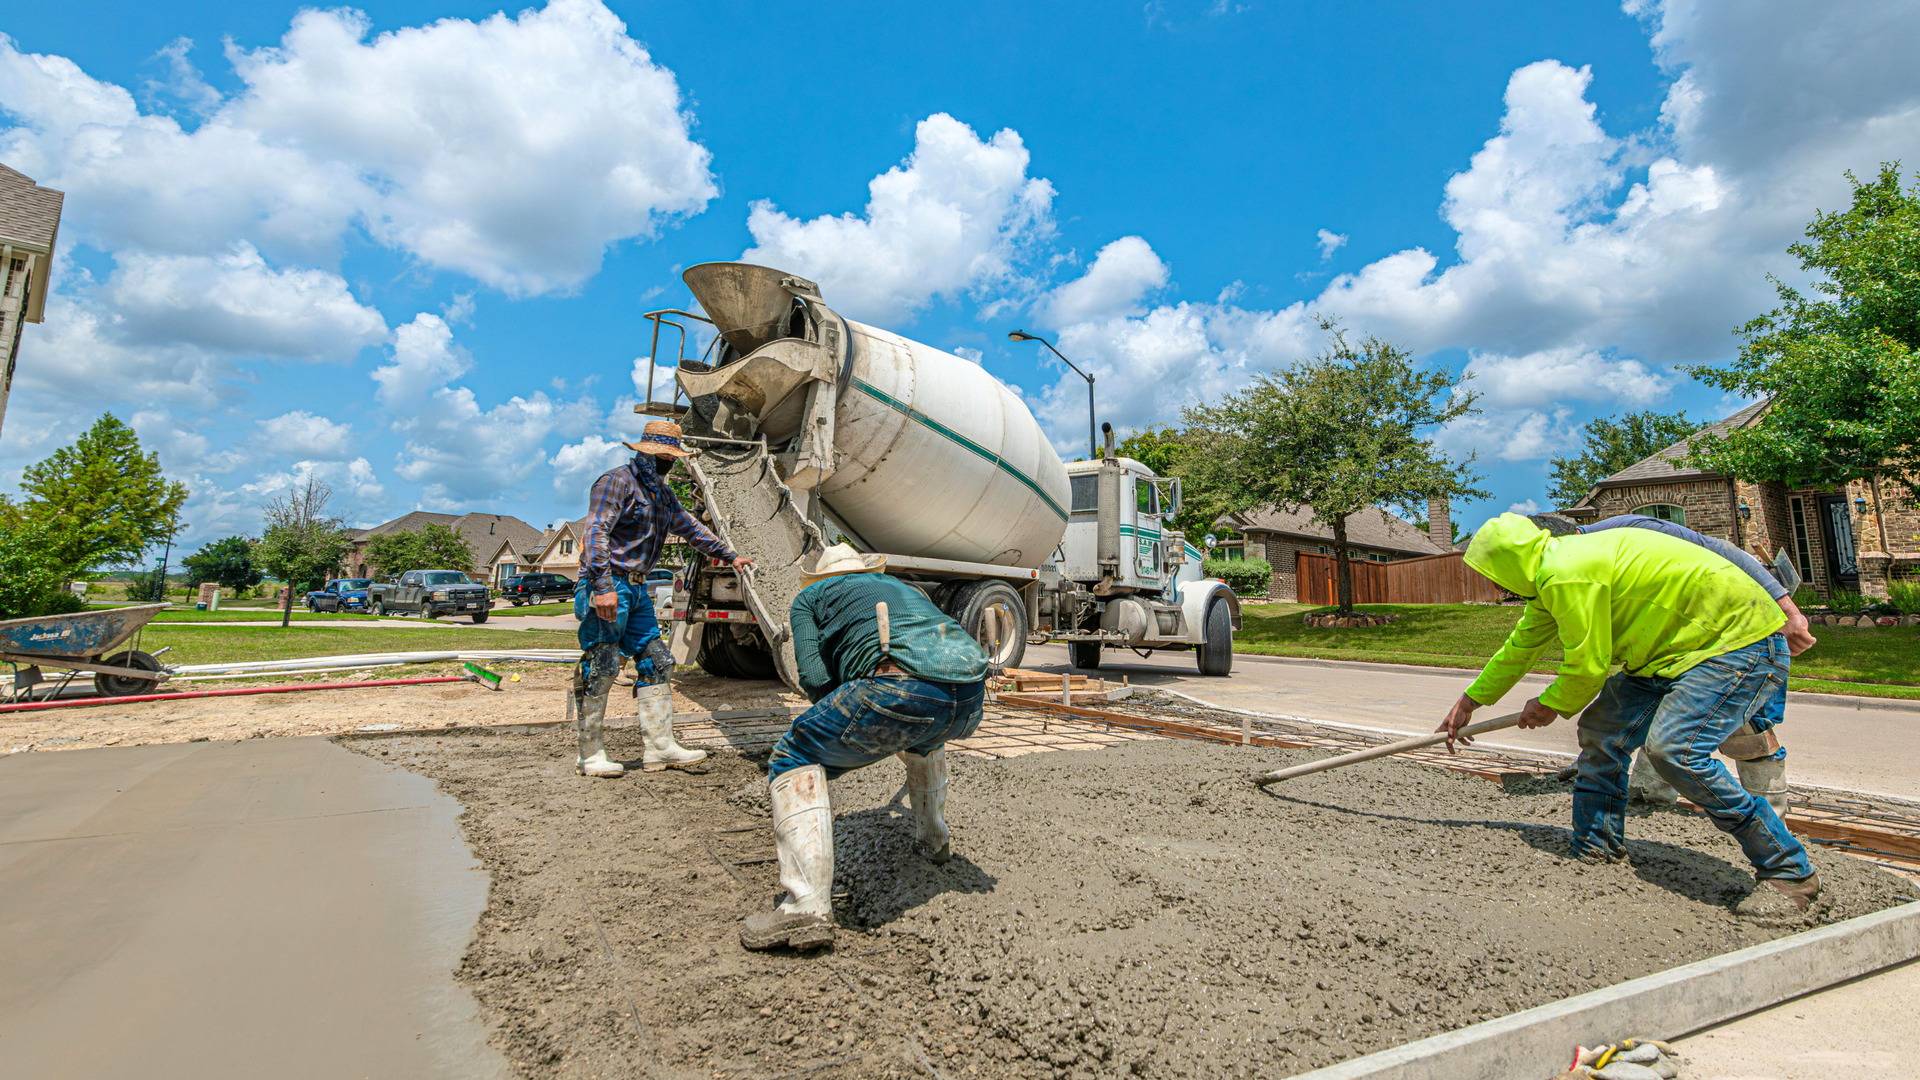
Step 7: Pouring the Concrete
Pouring concrete is a time-sensitive step that requires coordination and experience. Once the concrete arrives, it must be placed, leveled, and compacted efficiently before it begins to set.
During this stage, contractors:
- Pour concrete evenly across the forms
- Screed the surface to achieve proper level
- Remove air pockets to improve strength
Consistent placement helps prevent weak spots and uneven curing, both of which can affect long-term performance.
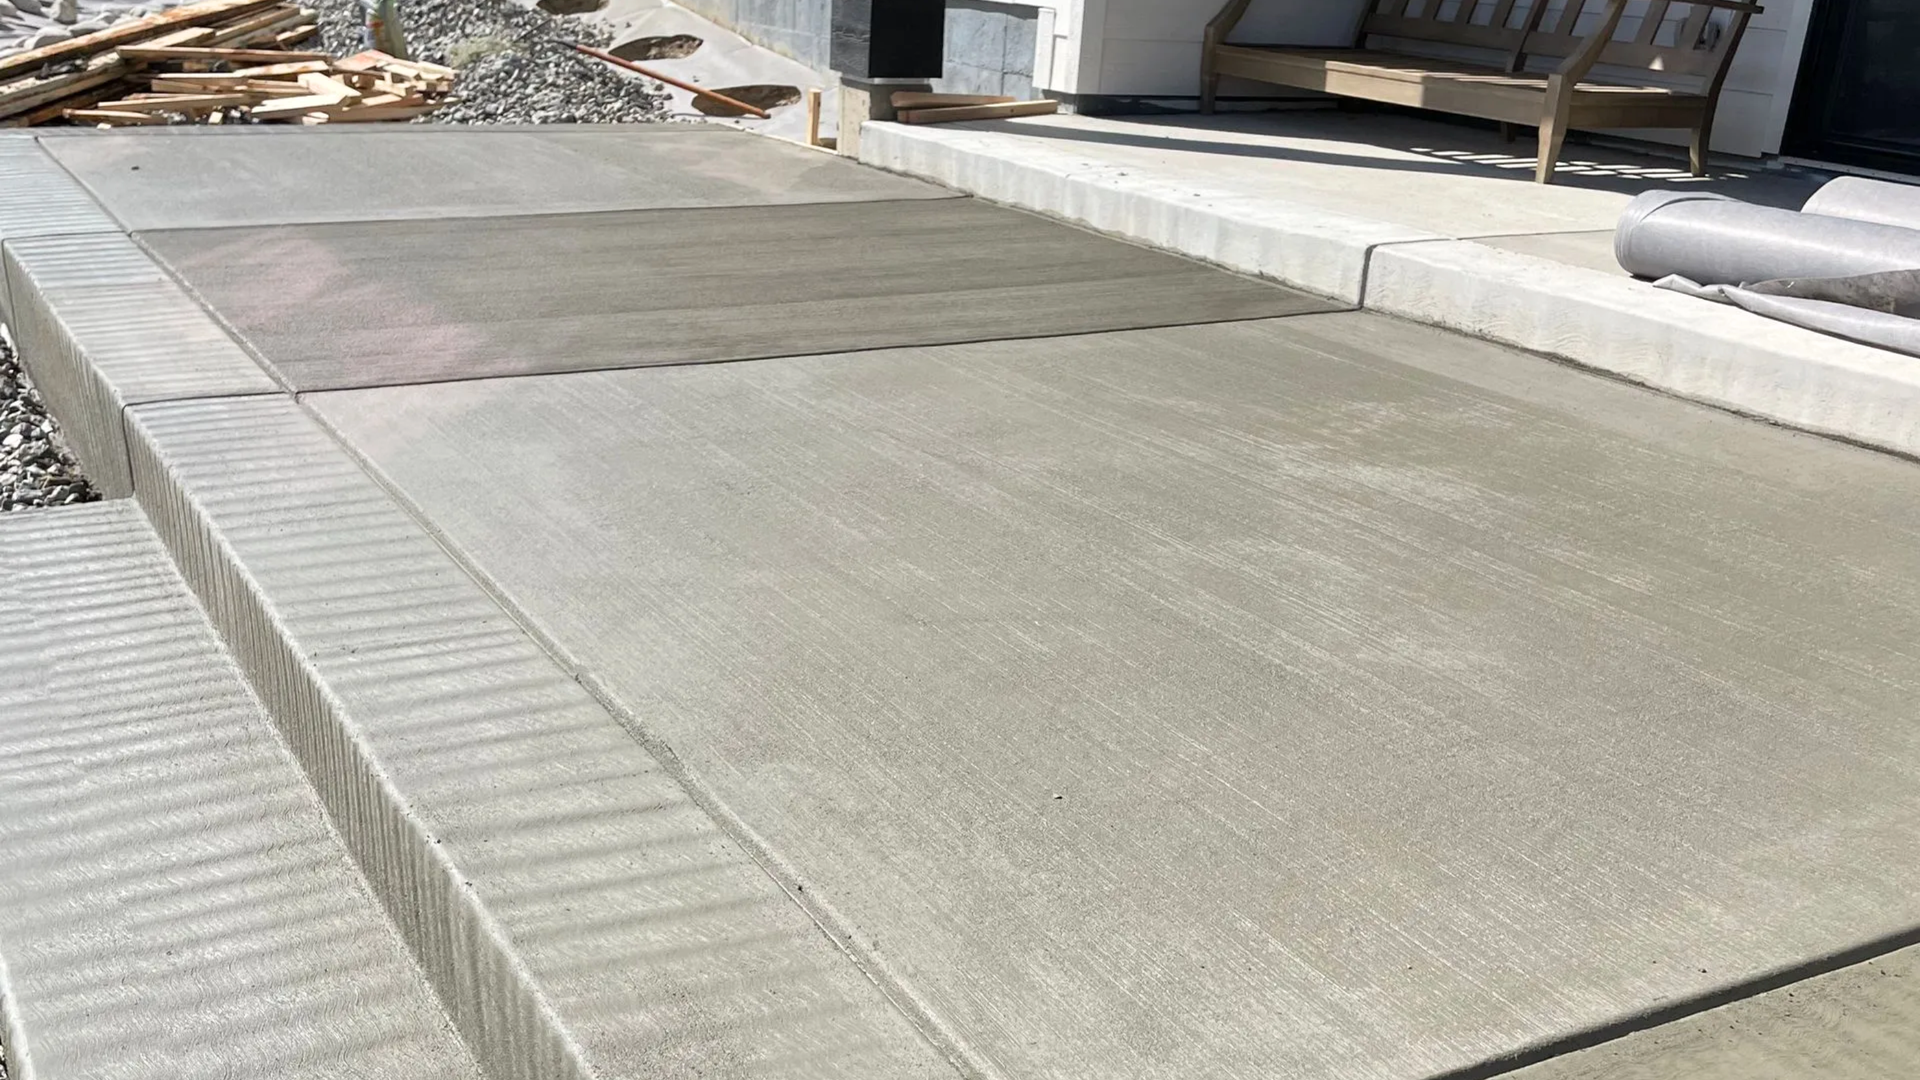
Step 8: Finishing the Surface
Finishing determines how the driveway looks and functions. Most residential driveways use a broom finish, which provides texture for traction and performs well in wet or icy conditions.
Finishing typically includes:
- Surface texturing
- Edging along forms
- Joint layout preparation
The finishing stage also affects how the driveway resists wear and how easily it can be maintained.
Step 9: Control Joints and Expansion Joints
Concrete naturally expands and contracts as temperatures change. Control joints are placed intentionally to guide cracking into planned lines rather than allowing random cracks to form.
Proper joint placement:
- Improves long-term appearance
- Reduces uncontrolled cracking
- Helps manage temperature-related movement
This step plays a significant role in how the driveway ages over time.
Step 10: Curing the Concrete
Curing allows concrete to gain strength gradually. Rushing this step weakens the slab and increases the risk of surface damage.
Proper curing:
- Retains moisture in the slab
- Improves overall strength
- Reduces early cracking
Most driveways require several days of curing before vehicles are allowed. During this time, contractors may apply curing compounds or protective coverings.
Step 11: Sealing the Driveway
Sealing is optional but recommended for many homeowners. A quality sealer adds protection against moisture, stains, and winter de-icing products.
Benefits of sealing include:
- Reduced water absorption
- Better resistance to surface wear
- Easier cleaning and maintenance
Many homeowners choose to seal their driveway after curing and reseal every few years as part of regular maintenance.

How Long the Installation Process Typically Takes
Most residential driveway projects follow a general timeline:
- 1–2 days for excavation and preparation
- 1 day for pouring and finishing
- 5–7 days of curing before vehicle use
Weather, driveway size, and site conditions can affect the schedule, but a professional contractor will outline expectations clearly.
Common Installation Mistakes Homeowners Should Watch For
Homeowners should be cautious of contractors who:
- Minimize base preparation
- Pour thinner slabs than recommended
- Ignore drainage planning
- Rush curing
- Provide vague or incomplete estimates
These shortcuts often lead homeowners to explore repair or replacement options much sooner than expected.
Installation Quality and Long-Term Costs
While a properly installed driveway may cost more upfront, it often saves money over time. Homeowners who later research Concrete Driveway Cost Brighton frequently discover that early repairs stem from poor installation rather than normal wear.
Similarly, many full replacements are needed because original installation steps were skipped, not because the driveway reached the end of its natural lifespan.
Final Thoughts
Understanding the concrete driveway installation process helps homeowners make informed decisions before work begins. Each step, from excavation through curing, contributes to how the driveway performs over time.
A well-installed driveway offers durability, proper drainage, and reliable performance in Brighton’s climate. Working with experienced professionals like ANE Concrete ensures each phase of the project is handled correctly, protecting both your investment and your property.